
Back To School Supplies!

Today we've got a ton of great back to school supplies to motivate your kids!

Back 2 School!


Decorate a homework box to keep your kids organized!

 Homework Box by Rebecca Keppel
Products used:Best Creation's Back 2 Schol GP380, ESG001, EC001, MSS018, SBS007, ribbon: Pebbles Inc, adhesive: Therm O Web

Homework Clipboard by Rebecca Keppel:
Products used: Best Creation's Back 2 School GP


With all of the different colors and patterns, your kids will never be bored with school!


plus, they can act as a personalized tag so your kids won't lose their school supplies!


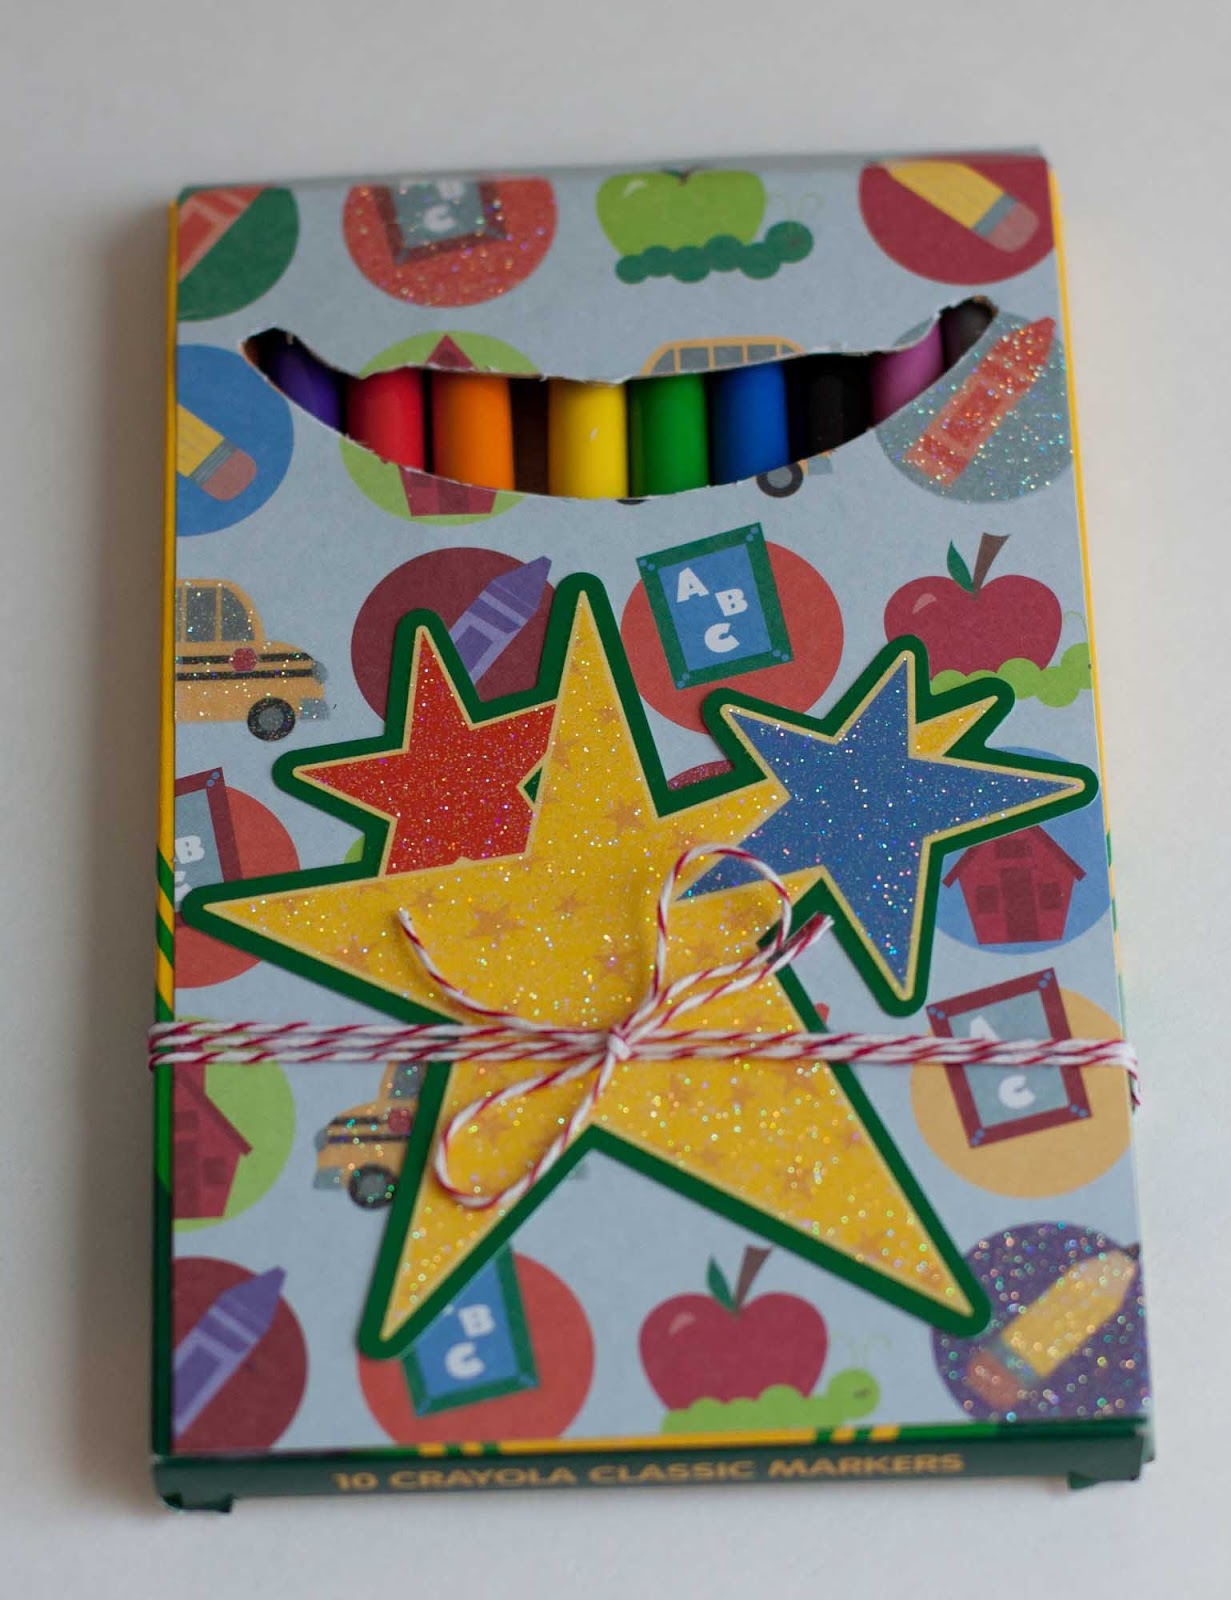
Or add some excitement to their lunch bags!

Lunch Tags by Rebecca Keppel
Products used: Best Creation's Back 2 School EC001, BGP (Star) 301, 304, 306


Show your student he's a star with this Star Student Pin!

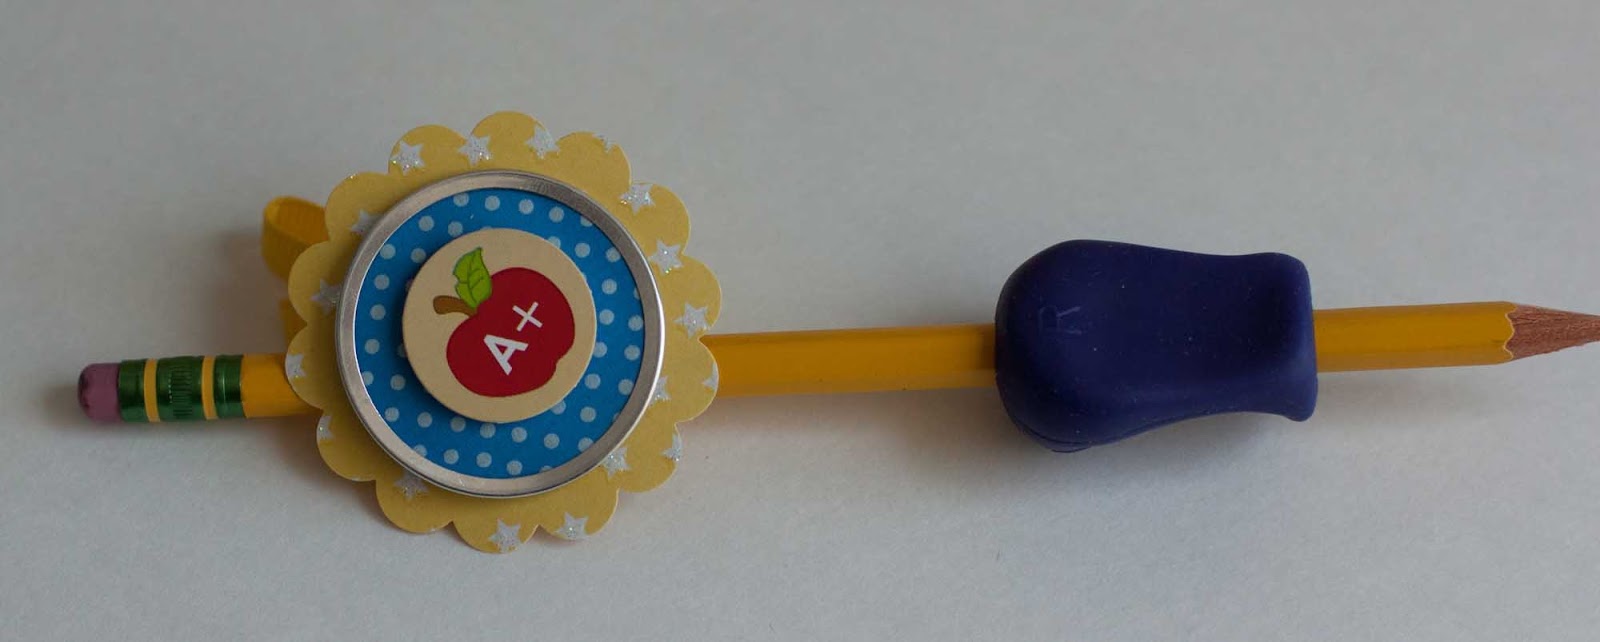
 Star Student Pin by Karen Taylor
Products used: Best Creation's Back 2 School GP380, GP382, Glitter Element Stickers: ESG001, Expressions Chipboard: EC001, Want 2 Scrap: Petite Scalloped Circle SM, Clearsnap: Chestnut Roan and Warm Violet Chalk Ink, Adhesive: Helmar's Zapdots and 450 Quick Dry, Misc : Lace, Doily  and Pin back


Or congratulate them for moving up to the next grade!

 2nd Grade Pin by Karen Taylor
Products used: Best Creation's Back 2 School GP380, GP382, Glitter Element Stickers: ESG001, Expressions Chipboard: EC001, Want 2 Scrap: Petite Scalloped Circle SM, Clearsnap: Chestnut Roan and Warm Violet Chalk Ink, Adhesive: Helmar's Zapdots and 450 Quick Dry, Misc : Lace, Doily  and Pin back 


Or for the older kids, decorate a composition book!

 
 Composition Book by Debbie Sherman
Products used: Best Creation's Back 2 School GP378, 374, 337, 373
GCS013 White, MSS017 Metal Style Stickers


Keep your kids motivated! For more ideas on how to impress those teachers, check back with us next week!

Comments

  1. These are all such great projects! Thanks for sharing! :)

    Ashley
    http://especiallymade.blogspot.com

    ReplyDelete
  2. loved them! This reminds me to make my own back to school page!

    ReplyDelete

Post a Comment

Popular posts from this blog

DIY TUTORIAL: Unicorn Headband

UNICORN  HEADBAND   Materials Best Creation Basic Glitter  Card Stock GCS065, GCS066,GCS067, GCS 048 Cardstock  white and with design Ribbon Tools Ruler Die Cut Round Glue Rotary Trimmer Step 1.   You can buy  a headband  and  cut  the Basic Glitter Card Stock GCS010   using the SVG file. You can cut using a cutting machine or with scissors.                                                                                                         Step 2   Cut the pink ribbon and make the bow.  Hold after until the glue is dry.   Step 3   Apply glue for the glitter paper and hold with the fabric until the glue is dry Step 4  Apply glue to the bow  and hold with a clothes pin to  the headband                                     You can decorate this project depending on the party theme. It can be used for birthday parties, baby showers, weddings, holidays and much more. It is important to use the Best Creation Basic Glitter cards

DIY: Under the Sea Invitation

DIY: Under the Sea Invitation Summer themed birthday parties and gatherings are always a fun way to bring friends and families together.  Get your guests rounded up with these cute Under the Sea themed invitations.  In this DIY Tutorial we use our glitter cardstock and glitter iron-on vinyl. Make sure to post your project with the hashtag #bestcreationDIY for a chance to be featured on our social media! Happy crafting! You can purchase materials for this project on our Etsy page here .    Materials Best Creation Basic Glitter  Card Stock GCS008. Glitter Iron  GIO12 (Ocean Blue) Cardstock  white and purple Purple Brad Tools Ruler Glue Iron Scissors, cutting machine, or dies Step 1 Cut  the Basic Glitter Card Stock GCS008 (Ocean Blue) using the SVG file. You can cut using a cutting machine or with scissors.  After cut 2 pieces of the regular purple cardstock. Cut the purple cardstock pieces slightly bigger than the SVG file. Step 2

It's our Mini Book Blog Hop Today......

How would you like to learn how to create a fun Mini Book  out of one 12x12 and be inspired to make 20 different versions of it?  Well get ready to hop- because today on each of our blogs we  will share with you some fun and creative different versions on how  to make  this simple mini book we did at the CHA Winter Show.  Here is the book and photos of the basic cuts to get you started  First cut your paper into thirds then fold each third in half and glue the pieces together to make 3 pages and now off you go  to our first designer on the hop Alicia Barry   to inspire you with more ideas and ways to embellish it and change it up for lots of different occasions. And... if you need some Amazing Adhesives to put it all  together be sure and grab some Helmar 450, some  Scrapdots  to pop it up and give it dimension  and  Helmar Craft glue too.   They work fantastic on our papers and all  of our designers love using it! Here is the links and order list just in case one is br