Everyone loves Robots, they are everywhere- from the huge megabots
in the movies to the little tiny ones we can build ourselves
like Legos with our kids. And its not just for boys, little girls are
big fans of outer space things and all the stuff that goes
with it too. So..... our second New Collection is called
what else but "Robot". Its filled with lots of adorable
spaceships, planets, funny little robots and lots of
matching stickers and chipboard to go with it.....
Our ladies outdid themselves again with their layouts
and the pagemaps that go with it today and we hope
you like all the fun ideas they have to share....
 |
| NASA by Kim Arledge |
supplies: basic glitter dot in royal, papers # R004,
chipboard R013, stickers R012
twine and mini letters from R013

sketch by Becky Fleck's pagemaps
 |
| "Blast Off" by Kim Holmes |

sketch by Becky Fleck's pagemaps

 |
| Little boy turns 4 by Mireille Divjak |
Best Creation Inc Supplies:
Robot Line - Glitter Die Cut #R011
Patterned Paper: #R002, #R005, #R006, #R008
Chipboard: Robot #R014
Stickers: Robot Combo Stickers #R013
other supplies: Grungeboard: Tim Holtz
Tim Holtz for Sizzix ,Alterations - Gadget Gears
Paint: Making Memories- honeydew
embossing powder: Zing- American Crafts
Pens: American Craft & Sakura
Tools: Punch: EK Succes - bubbles
Sew Easy - We R Memory Keepers
Big Shot.
 |
| "Not such a Little Boy" by Alicia Barry |


sticker mini letters R013 and foam pop ups.
 |
| "Out of this World" by Jona Panessa |

Robot papers - R006, R005, R002, R007
Robot chipboard, Bazill cardstock,
fancy pants chipboard, making memories paint, opal dusts

 |
| "Buzz" by Liz Chidester |


supplies: R004, R002, BGP217, BGP205
R012 Robot sticker sheet, R013 Robot sticker sheet
R014 Robot chipboard
 |
| page by Petra Offrell |
Supplies: Best Creation Robot RO002, 009, 016, 006, 013
Best Creation FT003, Helmar 450 Quick Dry Adhesive
Other: Bazzill Basics Cardstock, ink, cord, brads Journaling:
Journaling-My 2 Best Scrappy friends:
Every time I take out my Cuttlebug or other scrappy things my cat
Cosinus comes and keeps me company.
Perhaps because there is a slight chance of a cuddle.

 |
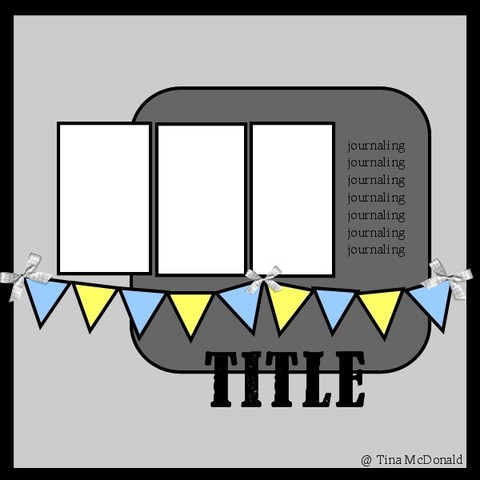
| "My Little Boy" by Tina McDonald |

Sketch: Pencil Lines #232

Best Creation: R003, R004, R001, R006, R007, R012, R013
Cardstock: White Bazzill
Spellbinders: Nested Pennants (S5-028)
Nested Lacey Pennants (S5-029)
Adhesives: Helmar
Brads: Recollections
 |
| "Mr. Fix it" by Sarah Mullanix |
In order to create the badge/ribbon at the top of the layout
Sarah layered 2 strips of ribbon, 2 circles cut from
pattern paper, and a BC sticker on top.
She used foam pop dots between each layer to add dimension.


Supplies: Title Stickers - Thickers by American Crafts
Paper: #R016 6x6 Glitter Paper Pad Robot
#R005, #R004 #R001 Sticker Sheets: #R012, #R013
 |
| "My Little Boy Colby" by Nicole Wise |

Products Used: R001, R002, R003, R005, R006, R007, R009,
R013, R014, BGP211, BGP213, BGP215, Bazzil Cardstock,
Thickers, MM Brads, Clearsnap Ink, Ric-Rac,
Marvy and EK Success Punches, ATG and Helmar Adhesives.
Hope you loved all the projects today!
be sure and check back tomorrow for lots more....
I love this collection and all the pages are fantastic. The bright colours are really striking. This collection would be perfect for my little man (age 2). Thanks for sharing the pagemaps too. Have a happy Easter everyone :)
ReplyDeleteFabulous collection! I have a 3 year old grandson that I scrapbook and this line is PERFECT!
ReplyDeleteAwesome layouts and sketches. :)
ReplyDeleteWow!!! What fun inspiration today :)
ReplyDeleteThis collection is SOOOO cute!!! A must-have for sure!
ReplyDeleteLadies, these are SO gorgeous!!! I just received this collection a few days ago and I'm so inspired to dig into it!!!
ReplyDeleteI'm loving the Buzz inspiration... we have plenty of Buzz in the house! The entire DT did a fabulous job with this!
Fun FUN line!! Love the layouts!
ReplyDeleteLove all the great layouts and the artists take on the sketchs....awesome.
ReplyDelete