
It just keeps getting better every single day with all
the excitement we are having in our booth at CHA!
We have had the pleasure of meeting so many talented
teachers and store owners and friends so far this week
and each new day brings us more stories and fun
experiences to talk about at the end of each day!
We have had great comments about all of our
New Collections and have a few more pictures today
of our Birthday collection
to share and some of the fun people we
met. We have lots more to share each day so be sure
and stop back to see more of the fun :)
We met lots of ladies and gentlemen from around
the world this show. From Brazil, Equador, New Zealand,
England, Australia, Japan, Paris, Italy and all the way
back up to beautiful Canada. And we loved every moment of
our make and takes with all of you and sharing all the wonderful stories
with you from your part of the globe!


Our birthday line goes fantastic with our glitter dots
and you can see that you can create some really
fun projects for your next party.


Safari Baby Boy was a huge hit! Everyone loved all the colors
and patterns and all the great ideas we had for their stores...

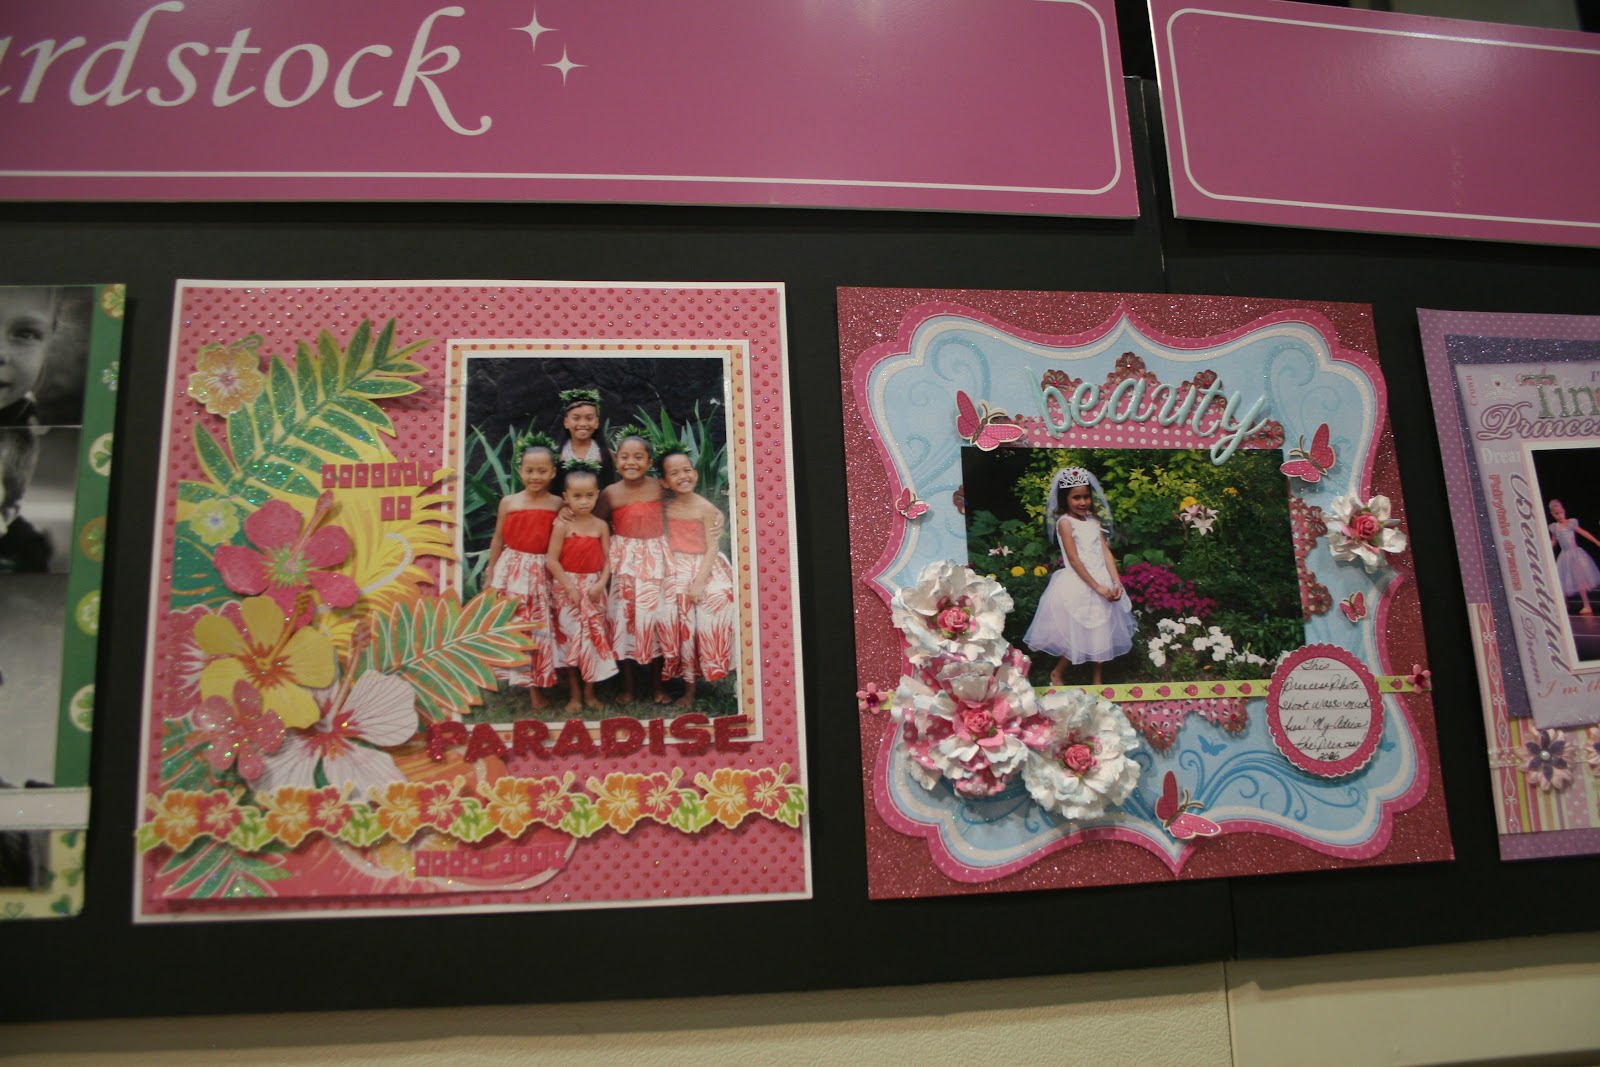
Our glitter papers were still the best out on the market
this show and we had lots of fantastic comments on
how great our product is and how the glitter doesn't come
off when you scrap it. We even got requests to add more
colors to the already 64 that we carry already... How fun would that be!
Better go and get back to the last day of
our show and
thanks for stopping by and checking us out today
and be sure and leave a comment for a chance
to win a pack of Birthday or Safari Baby Boy just for you!
Winner will be announced this friday...
Wow! I'm the first one to comment!
ReplyDeleteYour booth's photos look great! I love every new line and would love to win the Safari baby boy. I really hope to win this time!
Olá, os trabalhos estão maravilhosos e os papeis, lindos demais, vou torcer para ganhar o bebê safari, beijos!!!!
ReplyDeleteWow, it looks like you are having a great time. Your booth looks amazing. Well done Best Creations!!
ReplyDeleteI'm so glad that your beautiful papers are being so well received! Have fun with the rest of the show!
ReplyDeleteYou've done a great job with the booth this year. It looks great. I'm going to check out your 64 colors now. Keeping my fingers crossed.
ReplyDeleteBEST booth at CHA!!! You go Best Creations!
ReplyDeleteLove that birthday collection. Great products with fabulous colors and designs.
ReplyDeleteI love the new projects! What great ideas! The booth looks fabulous too.
ReplyDeleteI just used your winter line and the glitter really doesn't come off, even when I was fussy cutting it. Good luck with CHA!
ReplyDeleteThanks for showing more pictures. So happy that everyone loves the glittery papers as much as I do :)
ReplyDeleteThanks for sharing these photos with us!! Your booth looks amazing! Maybe one day I will make it there.
ReplyDeleteSo glad you have fun and sell! I worked with both Safari Boy and Let's Party collections and I think they are fantastic, but all others are even more.. OK- I can't win here, someone else will enjoy the draw.. I won to be of Best Creations DT- the biggest win ever!
ReplyDeleteSo happy to see all the photos from CHA. One day I will go there too!!! One day..... Love the new lines, they look great!!!
ReplyDeleteLooks like a lot of fun! :)
ReplyDeleteThe booth has a wonderful clean look, the collections are fabulous and inspiring, and I really hope CHA has been successful and fun for Best Creation - you're one of my fave mfrs!
ReplyDeleteYay, I'm so happy to see the CHA photos, everything looks so fantastic!!
ReplyDeleteYour booth looks awesome! Great new lines.
ReplyDeletehugs,
Gini