
Glittery Card Day with Whipper Snapper Stamps


So what happens when you give a Design Team lots of stamps images
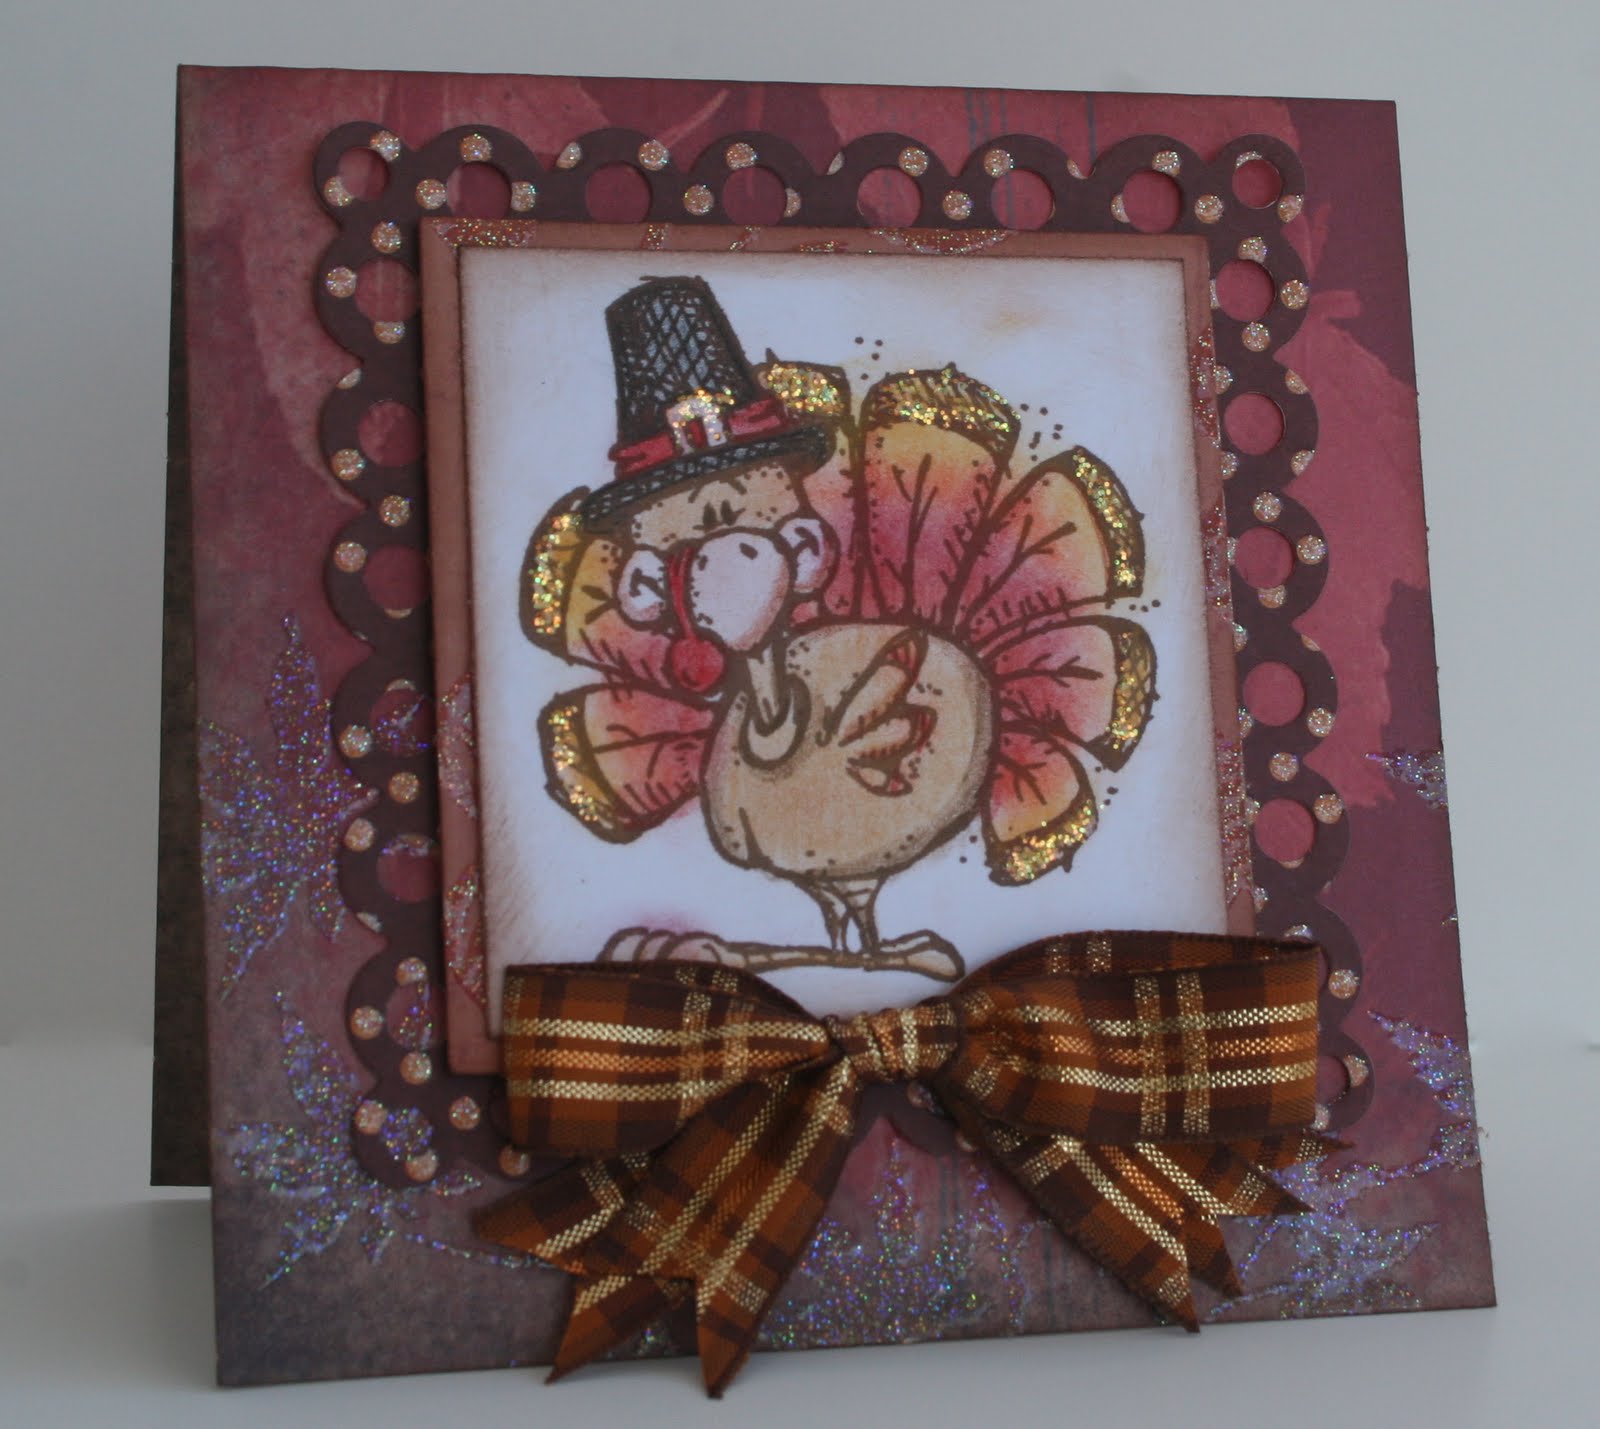
by an awesome stamp company called Whipper Snapper Designs,
lots and lots of paper, and the creative flexibility to make
any card they want?


Well.........

this happens!!

35 super cute cards
that are all completely different
using all of our gorgeous glitter paper and
beautiful printed cardstock papers!

Our papers work great for cards because they are double sided
and all of the colors match with our papers
throughout all the collections-
both old and new!

It makes it fun to use all the patterns
both front and the non glitter back side..

We hope you get inspired today to
go and buy some stamps
and create a few cards this weekend !!


Don't you just love
all these cute cards so far!!!


Thanks for stopping by today and dont' forget today is the last day to enter our contest for the packs of glitter cardstock!!!


The winner will be announced on Tuesday so be sure and check back!!

A Special Thanks to all of our talented designers
for doing such a great job!


Comments

  1. Very cute cards and the images are all adorable too!

    ReplyDelete
  2. gorgeous cards!!! I just love seeing them all together!

    ReplyDelete
  3. These are gorgeous cards! Those snowman images have me swooning!

    ReplyDelete
  4. Thanks for all the wonderful inspiration!

    ReplyDelete
  5. Super cute cards and adorable stamps!! :)

    ReplyDelete

Post a Comment

Popular posts from this blog

DIY TUTORIAL: Unicorn Headband

UNICORN  HEADBAND   Materials Best Creation Basic Glitter  Card Stock GCS065, GCS066,GCS067, GCS 048 Cardstock  white and with design Ribbon Tools Ruler Die Cut Round Glue Rotary Trimmer Step 1.   You can buy  a headband  and  cut  the Basic Glitter Card Stock GCS010   using the SVG file. You can cut using a cutting machine or with scissors.                                                                                                         Step 2   Cut the pink ribbon and make the bow.  Hold after until the glue is dry.   Step 3   Apply glue for the glitter paper and hold with the fabric until the glue is dry Step 4  Apply glue to the bow  and hold with a clothes pin to  the headband                                     You can decorate this project depending on the party theme. It can be used for birthday parties, baby showers, weddings, holidays and much more. It is important to use the Best Creation Basic Glitter cards

DIY: Under the Sea Invitation

DIY: Under the Sea Invitation Summer themed birthday parties and gatherings are always a fun way to bring friends and families together.  Get your guests rounded up with these cute Under the Sea themed invitations.  In this DIY Tutorial we use our glitter cardstock and glitter iron-on vinyl. Make sure to post your project with the hashtag #bestcreationDIY for a chance to be featured on our social media! Happy crafting! You can purchase materials for this project on our Etsy page here .    Materials Best Creation Basic Glitter  Card Stock GCS008. Glitter Iron  GIO12 (Ocean Blue) Cardstock  white and purple Purple Brad Tools Ruler Glue Iron Scissors, cutting machine, or dies Step 1 Cut  the Basic Glitter Card Stock GCS008 (Ocean Blue) using the SVG file. You can cut using a cutting machine or with scissors.  After cut 2 pieces of the regular purple cardstock. Cut the purple cardstock pieces slightly bigger than the SVG file. Step 2

It's our Mini Book Blog Hop Today......

How would you like to learn how to create a fun Mini Book  out of one 12x12 and be inspired to make 20 different versions of it?  Well get ready to hop- because today on each of our blogs we  will share with you some fun and creative different versions on how  to make  this simple mini book we did at the CHA Winter Show.  Here is the book and photos of the basic cuts to get you started  First cut your paper into thirds then fold each third in half and glue the pieces together to make 3 pages and now off you go  to our first designer on the hop Alicia Barry   to inspire you with more ideas and ways to embellish it and change it up for lots of different occasions. And... if you need some Amazing Adhesives to put it all  together be sure and grab some Helmar 450, some  Scrapdots  to pop it up and give it dimension  and  Helmar Craft glue too.   They work fantastic on our papers and all  of our designers love using it! Here is the links and order list just in case one is br