It's day 5 of our Fabulous Week with Helmar Adhesives
and we have something really fun for you to see and
to play along with for the next couple of days......

All of us here at BC love Summer...and
if there is anything that everyone loves to do in the summer
if there is anything that everyone loves to do in the summer
more than eat ice cream or gelato it is getting wet to beat
the heat in some way or another. Our challenge for the next 2 days
was to use different techniques to create water on our pages
and make them really pop and really look wet.....
and---- we want to have some giveaways so here is our
challenge to you! You can win a huge box of BC goodies
just by finding a few things on our layouts listed at the bottom
of this page..... and for more fun.... if you love playing
Where's Waldo.... one of our DT has Waldo somewhere on
her blog on Fri and Sat. so if you click on the names under each photo
you can hop to their blogs to see more close ups and photos
of each page and find where Waldo is today. And a chance
to win more prizes on their blogs too!!! How fun is this!!!
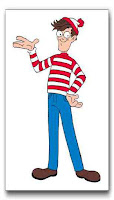 He looks like this just to help you with this very fun search.....
and---- we want to have some giveaways so here is our
challenge to you! You can win a huge box of BC goodies
just by finding a few things on our layouts listed at the bottom
of this page..... and for more fun.... if you love playing
Where's Waldo.... one of our DT has Waldo somewhere on
her blog on Fri and Sat. so if you click on the names under each photo
you can hop to their blogs to see more close ups and photos
of each page and find where Waldo is today. And a chance
to win more prizes on their blogs too!!! How fun is this!!!

 |
| "Stay Cool in the Pool" by Karen Thind |
 |
| "Waterpark Fun" by Debbie Sherman |

 |
| "Tide Pools" by Emily Branch |

Patterned Paper: (SF002, SF003, SF004, SF005, SF008,
SF009 from Splash Fun collection) Best Creation.
Glitter Cardstock; (Green) Best Creation.
Helmar 450 Quick Dry Adhesive and tape runner
Helmar 450 Quick Dry Adhesive and tape runner
Chipboard Labels: (SF014 from Splash Fun collection) Best Creation
Fibers: (Green polka dot ribbon) Bo Bunny
Accents: (Alphabet letter stickers from SF013 from Splash Fun collection)
Best Creation (Yellow letter Stickers) Pink Paislees. (Green glitter letters) Making Memories.
Tools: (Border edge punches) Martha Stewart. (Epoxies) Epiphany Crafts

 |
| "Fun Day" by Karen Taylor |

Don't you love the way the water comes out from
the top of the photo!!

Designers Notes: Create a Grid-like layout by arranging twelve
2 1/2 inch squares around the outside of 11 X 11 piece
of white cardstock. Add your 6 X 8 photo to the center
of your layout. Embellish with sticker elements and chipboard.
To add beads to your layout use Helmars Scrap Dots!
This glue is perfect because it dries clear, and the beads stick great!

Products Used: SF002 , SF008, GCS040, BGP217, SF012, SF013, SF9014
Other Products Used: Ribbon, Beads, White Cardstock, Beads, Hear Punch |
| "Play, Play, Play" by Julie Walton |

Supplies
papers and stickers and diecuts from the Splash Fun collection
including papers from the 6x6 papers
I used Maya Mists
Epiphany Crafts custom bubblecaps - Large Heart, Oval and small circle
Helmar Adhesives - 450 Quick Dry, Adhesive Runner
For me water means misting the paper, using droplets and epoxy's!!!!
 |
| "Summer Rain" by Alicia Barry |

The chipboard swirls and letters have been coated with glossy accents,
and I have glimmer misted the background and
applied glossy accents to the large droplets for a water effect.
and I have glimmer misted the background and
applied glossy accents to the large droplets for a water effect.
 |
| "Splish Splash" by Jona Panessa |

Supplies:
American Crafts cardstock, Best Creation splash fun collection
American Crafts cardstock, Best Creation splash fun collection
- SF 013, SF011, SF007, SF005. Splash fun chipboards.
 |
| Hit the Water by Irit Shalom |
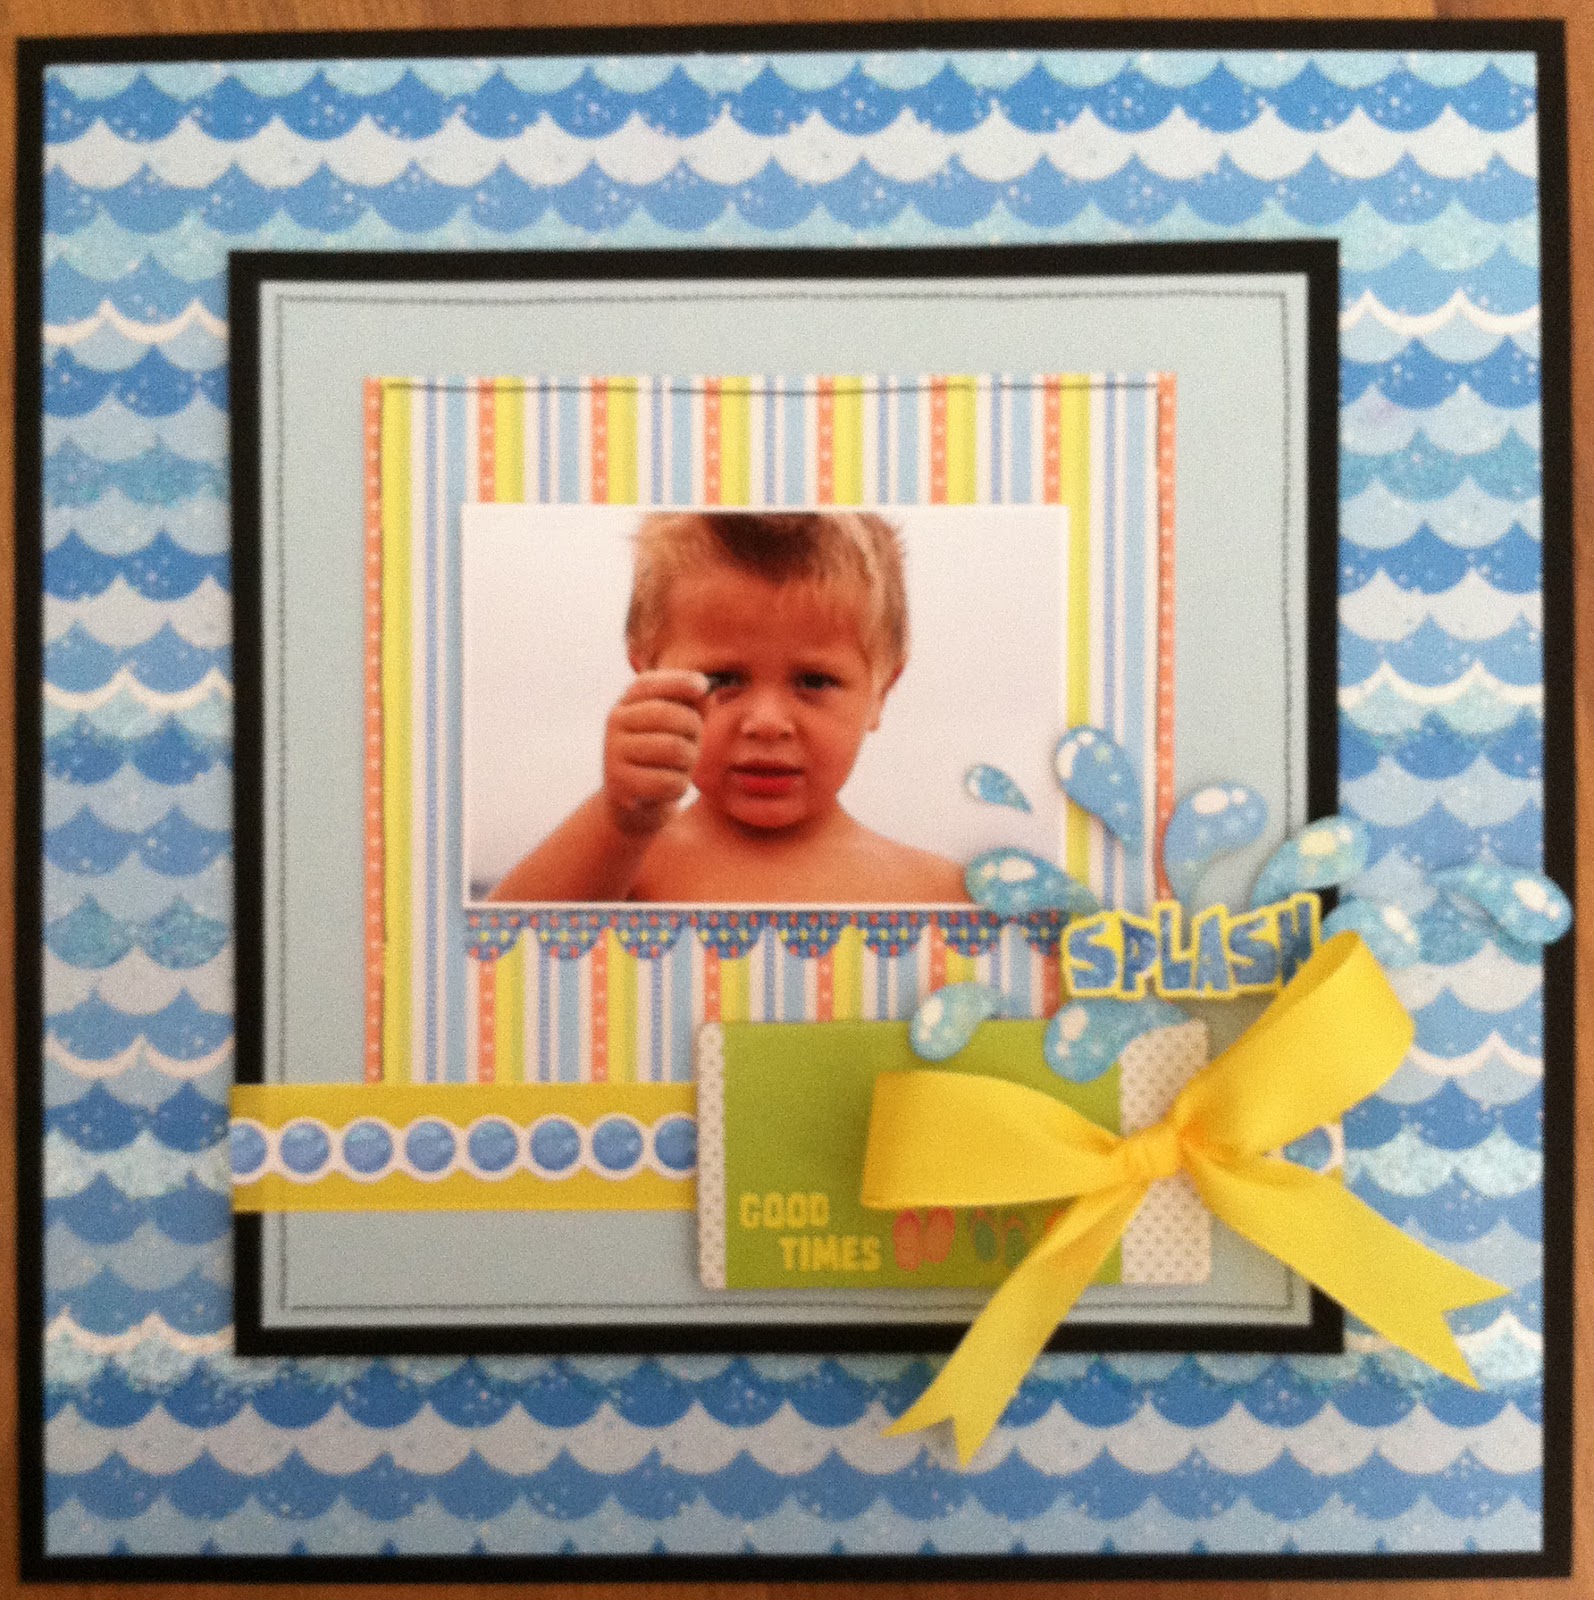 |
| "Good Times" by Brittny Kilvaug |
To win fun prizes on our blog today you need to find the following things:
#1- How many pages have splashes on them?
#2- How many pages have the mini letters on them?
#3 How many beach balls do you see?
be sure and send your answers to
teresa@bestcreation.us for
a chance to win some of the fun prizes today!!
You guys have the best contests! Thanks! Christy
ReplyDeleteAnd what do I do when I've tracked down Waldo today? :)
ReplyDeleteHere Christy:
ReplyDeletebe sure and send your answers to
teresa@bestcreation.us for
a chance to win some of the fun prizes today!!
Awesome summer layouts. I really want this paper line!
ReplyDeleteLoved all the fabulous layouts! TFS!
ReplyDeleteSuper fun pages! Love, love, love!!
ReplyDelete