
DIY Wall Art


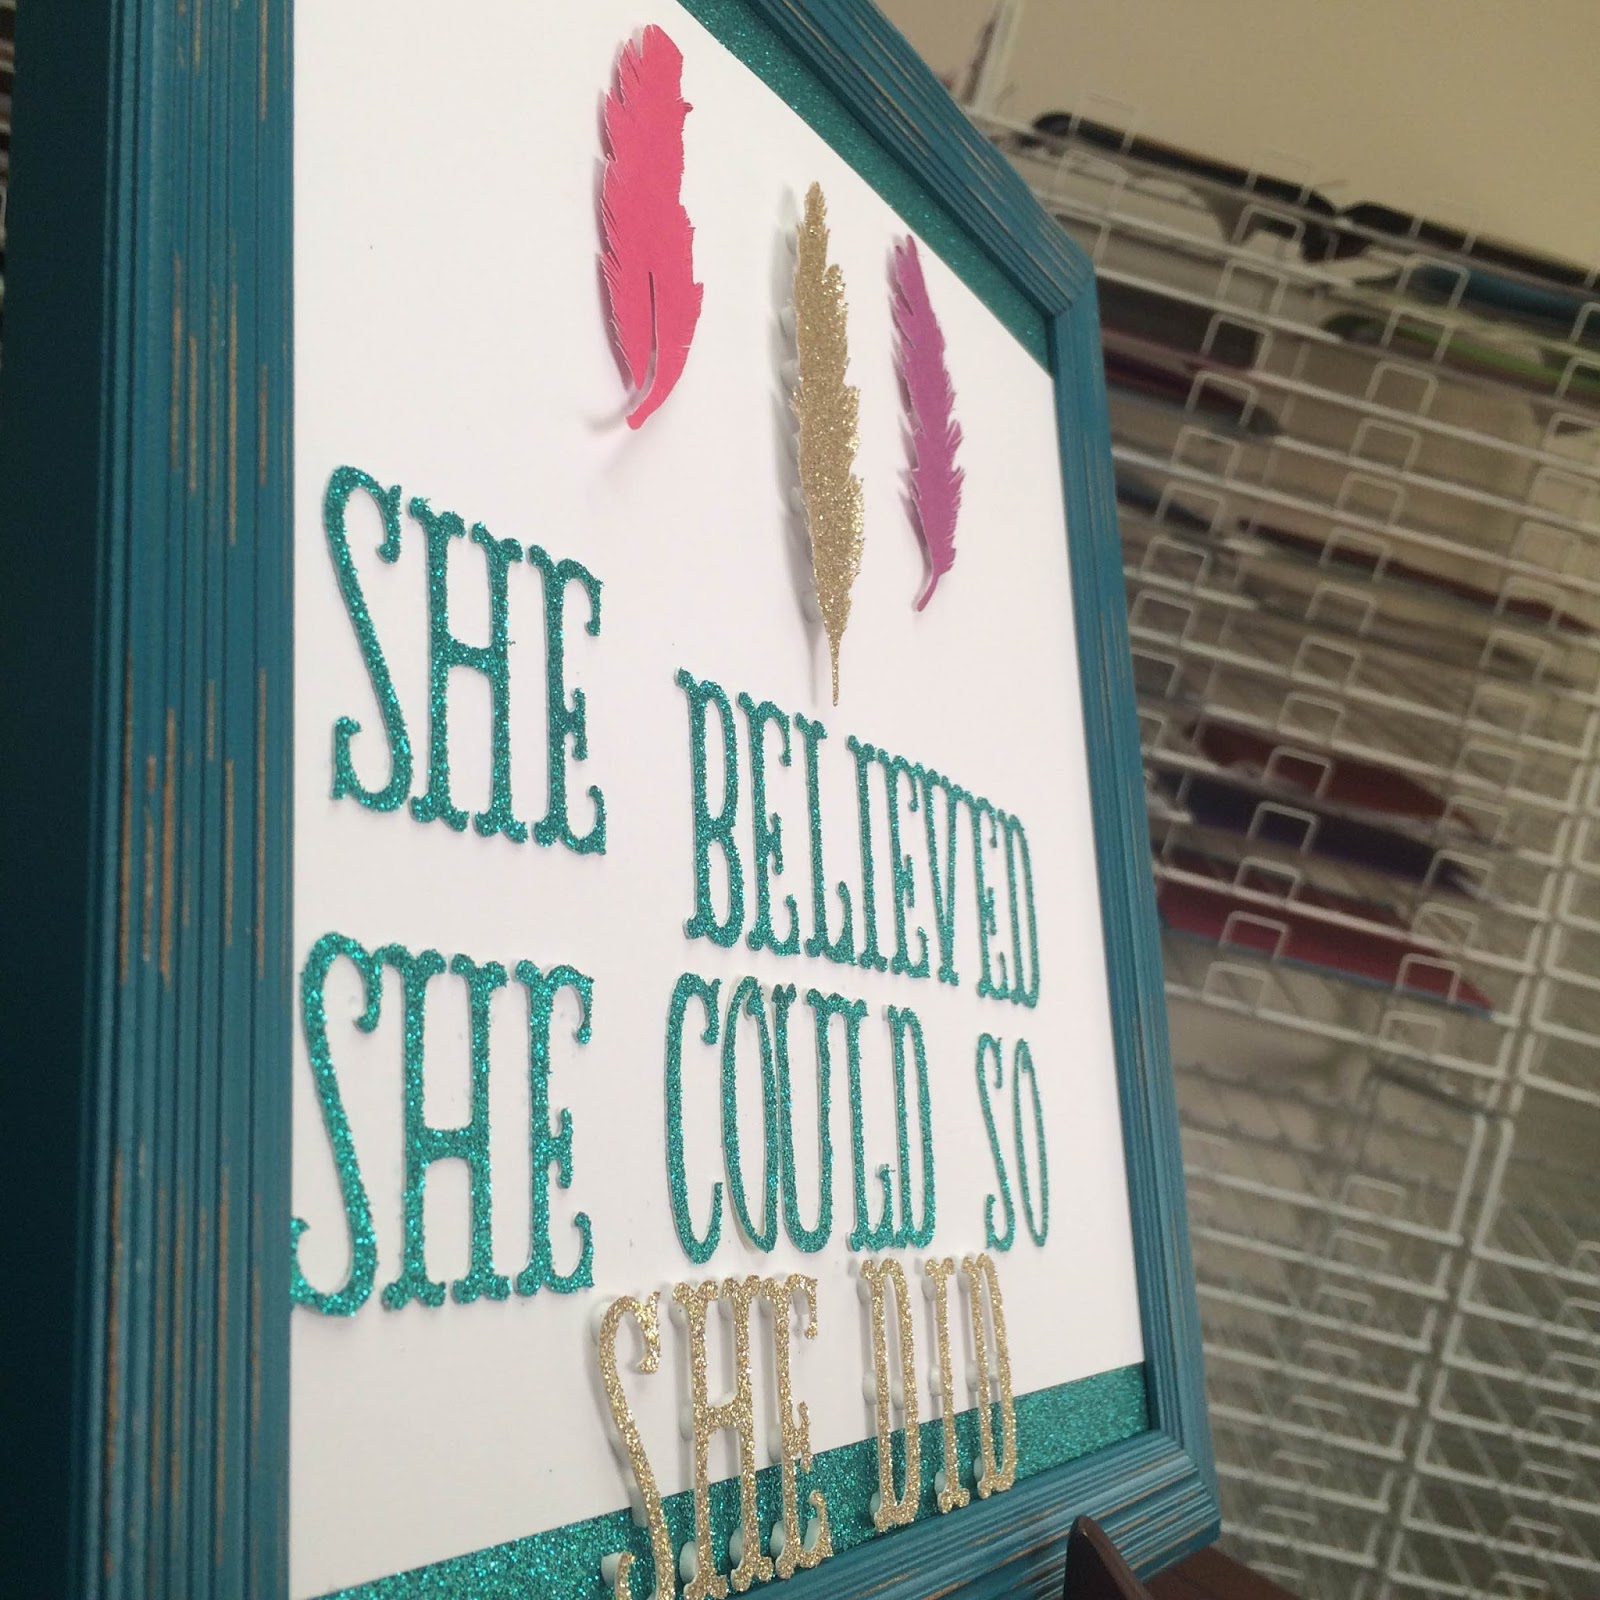
DIY wall art! "She Believed She Could So She Did". Here we used our Glitter Card Stock in Prussian Blue (GCS019) for the background of the wall art and for the letters. Layered the base with a plain white card stock so the letters and feathers will stand out. For the feathers I used our Glitter Card Stock in Gold Leaf(GCS062) and the other two feathers were our Basic Glitter Paper in Princess DOT(BGP210) and in Lilac DOT(BGP229), we just used the solid colored back of the paper. Glitter is always fun to work with and it makes such a shining statement. Check out our eBay and Etsy store for my Glitter Card Stock colors, Basic Glitter paper, and other scrapbook supplies! And for wholesale buyers check out our website!


Comments

Popular posts from this blog

DIY TUTORIAL: Unicorn Headband

UNICORN  HEADBAND   Materials Best Creation Basic Glitter  Card Stock GCS065, GCS066,GCS067, GCS 048 Cardstock  white and with design Ribbon Tools Ruler Die Cut Round Glue Rotary Trimmer Step 1.   You can buy  a headband  and  cut  the Basic Glitter Card Stock GCS010   using the SVG file. You can cut using a cutting machine or with scissors.                                                                                                         Step 2   Cut the pink ribbon and make the bow.  Hold after until the glue is dry.   Step 3   Apply glue for the glitter paper and hold with the fabric until the glue is dry Step 4  Apply glue to the bow  and hold with a clothes pin to  the headband                                     You can decorate this project depending on the party theme. It can be used for birthday parties, baby showers, weddings, holidays and much more. It is important to use the Best Creation Basic Glitter cards

DIY: Under the Sea Invitation

DIY: Under the Sea Invitation Summer themed birthday parties and gatherings are always a fun way to bring friends and families together.  Get your guests rounded up with these cute Under the Sea themed invitations.  In this DIY Tutorial we use our glitter cardstock and glitter iron-on vinyl. Make sure to post your project with the hashtag #bestcreationDIY for a chance to be featured on our social media! Happy crafting! You can purchase materials for this project on our Etsy page here .    Materials Best Creation Basic Glitter  Card Stock GCS008. Glitter Iron  GIO12 (Ocean Blue) Cardstock  white and purple Purple Brad Tools Ruler Glue Iron Scissors, cutting machine, or dies Step 1 Cut  the Basic Glitter Card Stock GCS008 (Ocean Blue) using the SVG file. You can cut using a cutting machine or with scissors.  After cut 2 pieces of the regular purple cardstock. Cut the purple cardstock pieces slightly bigger than the SVG file. Step 2

It's our Mini Book Blog Hop Today......

How would you like to learn how to create a fun Mini Book  out of one 12x12 and be inspired to make 20 different versions of it?  Well get ready to hop- because today on each of our blogs we  will share with you some fun and creative different versions on how  to make  this simple mini book we did at the CHA Winter Show.  Here is the book and photos of the basic cuts to get you started  First cut your paper into thirds then fold each third in half and glue the pieces together to make 3 pages and now off you go  to our first designer on the hop Alicia Barry   to inspire you with more ideas and ways to embellish it and change it up for lots of different occasions. And... if you need some Amazing Adhesives to put it all  together be sure and grab some Helmar 450, some  Scrapdots  to pop it up and give it dimension  and  Helmar Craft glue too.   They work fantastic on our papers and all  of our designers love using it! Here is the links and order list just in case one is br