
designer: Petra Offrell
As the season approaches we all start getting out
our decorations, thinking of starting a Christmas list and remembering
our favorite things from last year and the traditions that we
hold so dear!
One of our favorite Traditions is putting up our
Christmas trees and filling them with lots of pretty ornaments.
So all the B.C. designers got out their best papers, scissors, Helmar glue
and lots and lots of stickers and created some fun ideas for you!

You can use already purchased snowflakes
and die cut glittery ones to layer on it. Just add ribbon
and some silver beads and its ready to hang up on the tree....

Using the scenes on our winter paper made it easy
to cover this purchased paper mache ornament
and just add our stick on words and lots of ribbon
and extra snowflakes.

designer: Katarina Damm
Making folded shaped ornaments is an easy way to create
lots of them to put on a tree. Just cut out the shape out of gorgeous
paper, glue it together and add pretty flowers and ribbons.

designer: Rita Barakat
Rita cut this ornament out of our icicle paper and glued it
around the edges and hand stuffed it with a pencil to give
it a puffy and more 3 dimentional look. She added extra glitter
and this cute snowman stamp from Whipper Snapper
to finish it off. Really cute!!

designer: Alicia Barry
This cute ornament is a Wish Box that you can hang on a tree
and have your kids fill with little pieces of paper that have their own wishes
for Santa or whatever else they may want to come true.
And then get everyone together and
see if any of them come true
after the season is over :)
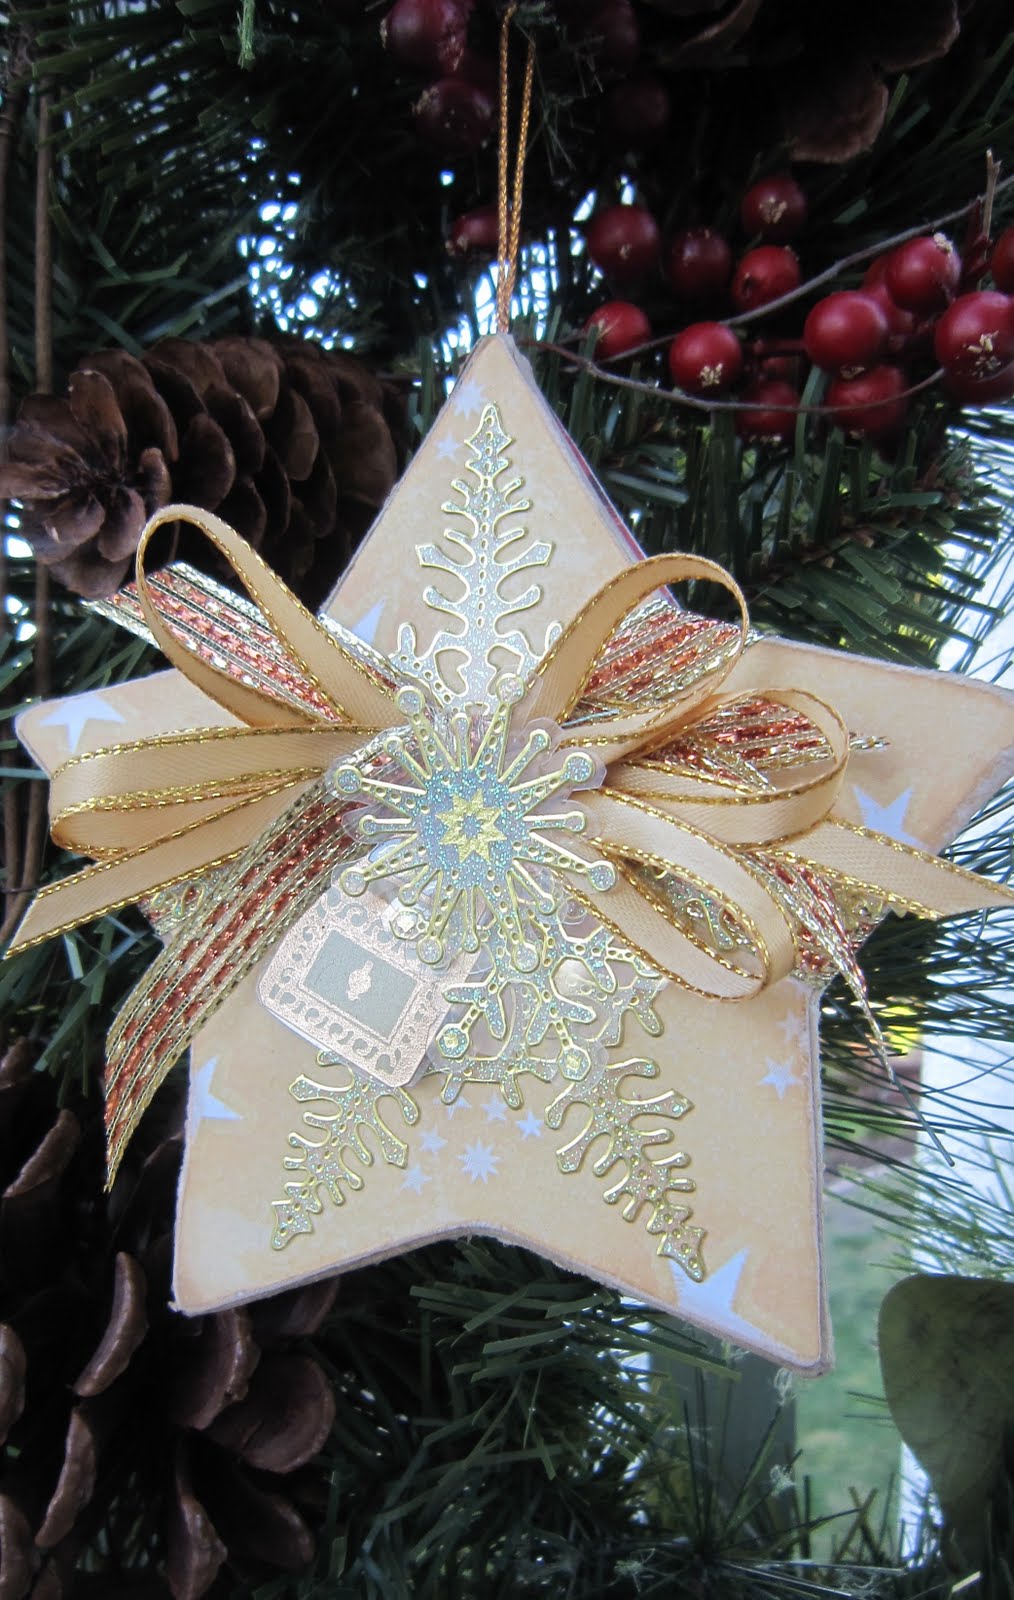
This beautiful star is also made with a paper mache
ornament and we added paper and our gorgeous white glitter
peel off stickers to make it super glitzy and shiny for our tree.

You don't always have to paint wooden ornaments.
You can photo copy the shape and then cut apart the
pieces and use them for patterns. Trace them out on different
patterned papers and glitter papers and glue with a
good all around glue like Helmar craft glue.

Here is another purchased wooden ornament
covered with our glitter dot and snowflake papers
and then added our chipboard snowman and some
silver snowflake stickers.

designer: Ann-Katrin
You can even design your own ornaments by creating
your own paper pattern and cutting it out like Ann-Katrin
did with this pretty glittery striped ornament!

designer: Kim Holmes
Kim created this beautiful country star out of lots
of bits and pieces of different papers and added a cute
button in the center and a ribbon to tie it to the tree.

designer: Julie Walton
Another great idea for an ornament is to cover a simple
picture frame and hang something in the center.
Julie hung a really cute tree and a few flowers
and added some netting at the top too.

Glass bulb ornaments are easy to make by just
adding stickers of different sizes or even colors.
We used our snowflake peel off stickers that come in
gold and silver and topped it off with pretty ribbon and bells.

designer: Tracey Taylor
How fun and easy it would be to use our glitter paper
and make lots of these cute accordian pleated ornaments
for your tree. Add fun embellishments to the center
of each and a ribbon to tie it up.

This ornament is quick and easy and
made with our Christmas border papers.
It is cut from a Sizzix die and we just added
a simple silver sentiment on the top...
These are quick and easy for kids to do too!

Both of these are also made with die cuts
from Sizzix. Our glitter papers cut super easy
with no mess and beads and rhinestones adhere
really easy to it to make a cute glistening, shining ornament!

Best Creation has lots of glittery peel off stickers
to use on all kinds of your favorite craft projects.
They come in gold or silver and we even carry an iridescent
white that works great on lots of colors.


We hope that we inspired you to sit down this weekend
with family or friends and make some really special ornaments for your tree
and who knows- maybe you can start a new tradition for your family!
Have a great weekend and Thanks for stopping by!!
Very festive!Love it all!!!
ReplyDeleteGreat projects!!!
ReplyDeletegorgeous ornaments!!
ReplyDeleteAll of the projects are gorgeous and so creative!!
ReplyDelete